Installation Assistance
Out-Swing Hidden Door Troubleshooting
This page addresses a specific installation condition that can occur with
out-swing hidden doors. Please review each step completely before making
adjustments to the jamb, trim, latch, or surrounding opening.
Stop! Your door is not warped or constructed out of square.
Please do not modify the door's hinge locations.
IMPORTANT: Every door is cut on one of our state-of-the-art CNC
machines. Parts are cut accurately to length and width and assembled
using squaring jigs and proven assembly methods developed over more than
10 years. Each unit is also inspected prior to shipping. However, the
door cannot hold itself plumb, level, or square and will adapt to the
opening in which it is installed. Do not cut, plane, drill, remove
material, relocate hardware, or permanently modify the door. Modifying
the unit or moving the hinges from their factory-set locations will
compound the issue and make the situation worse.
1
Identifying the Issue
In-swing and out-swing bookcase doors are constructed in much the same
way. The primary difference is that the case molding on an out-swing
bookcase door is attached directly to the moving bookcase.
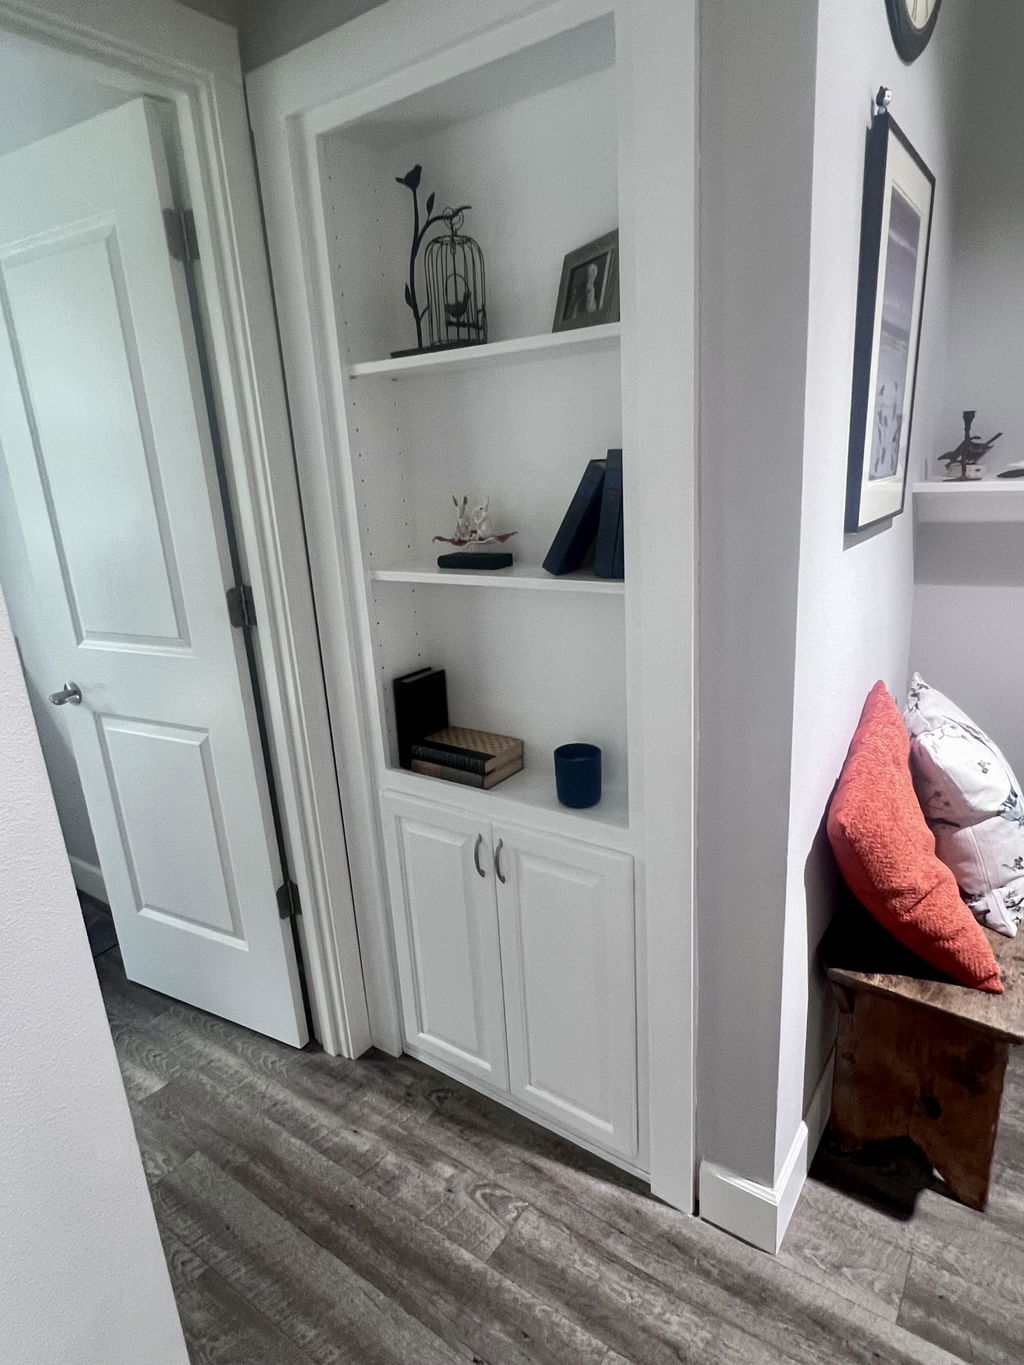
In the example below, the lower portion of the case molding contacts the
wall before the upper portion. This leaves a visible gap near the top and
indicates that the door, jamb, or wall surface is not running parallel.
2
Understanding the Difference
Conventional Door vs. Out-Swing Bookcase Door
Conventional Door
On a conventional door, the door closes against a stop that is
attached to the jamb. Because the jamb and door stop work together
as one frame assembly, the installation is more forgiving when
the wall or rough opening is slightly out of plumb or square.
Out-Swing Bookcase Door
To hide the seam around an out-swing bookcase door, the case
molding is attached directly to the moving bookcase. Because the
molding closes against the face of the wall, it must remain
parallel with the wall for the door to close evenly and sit flush
with the wall and top trim.
3
Identifying the Cause
The doors are constructed in a controlled environment and assembled
flat, level, and square. Once installed, however, they must fit within a
rough-framed and drywalled opening, where tolerances are often less
precise.
Because the door cannot hold itself square, plumb, or level
independently, it will conform to the opening in which it is installed.
Out-swing doors are especially sensitive to this. Even a slight
variation in the wall or jamb on one or both sides of the opening can
affect how evenly the door closes, how the case molding contacts the
wall, and how smoothly the door operates.
Example: A 6-foot level placed against the wall—not the
door—with the bubble touching one of the indicator lines can represent
roughly 5/8 inch of variation from plumb over that distance.
4
Doglegged Opening
A doglegged opening occurs when one side of the jamb sits farther
forward while the opposite side sits farther back. Although each jamb
may appear plumb when checked individually, the two sides are not
aligned in the same plane.
This twists the opening through its depth and can force the bookcase
door to conform to that twist. On an out-swing door, this may cause the
case molding at the bottom to contact the wall before the upper trim
reaches the wall.
5
Adjusting the Jamb
The jamb can be adjusted slightly to compensate for a wall or opening
that is not perfectly plumb or properly aligned. Begin by removing or
loosening the fasteners at the bottom and middle of the hinge-side jamb
only. Do not move, loosen, or relocate the factory-set hinge hardware.
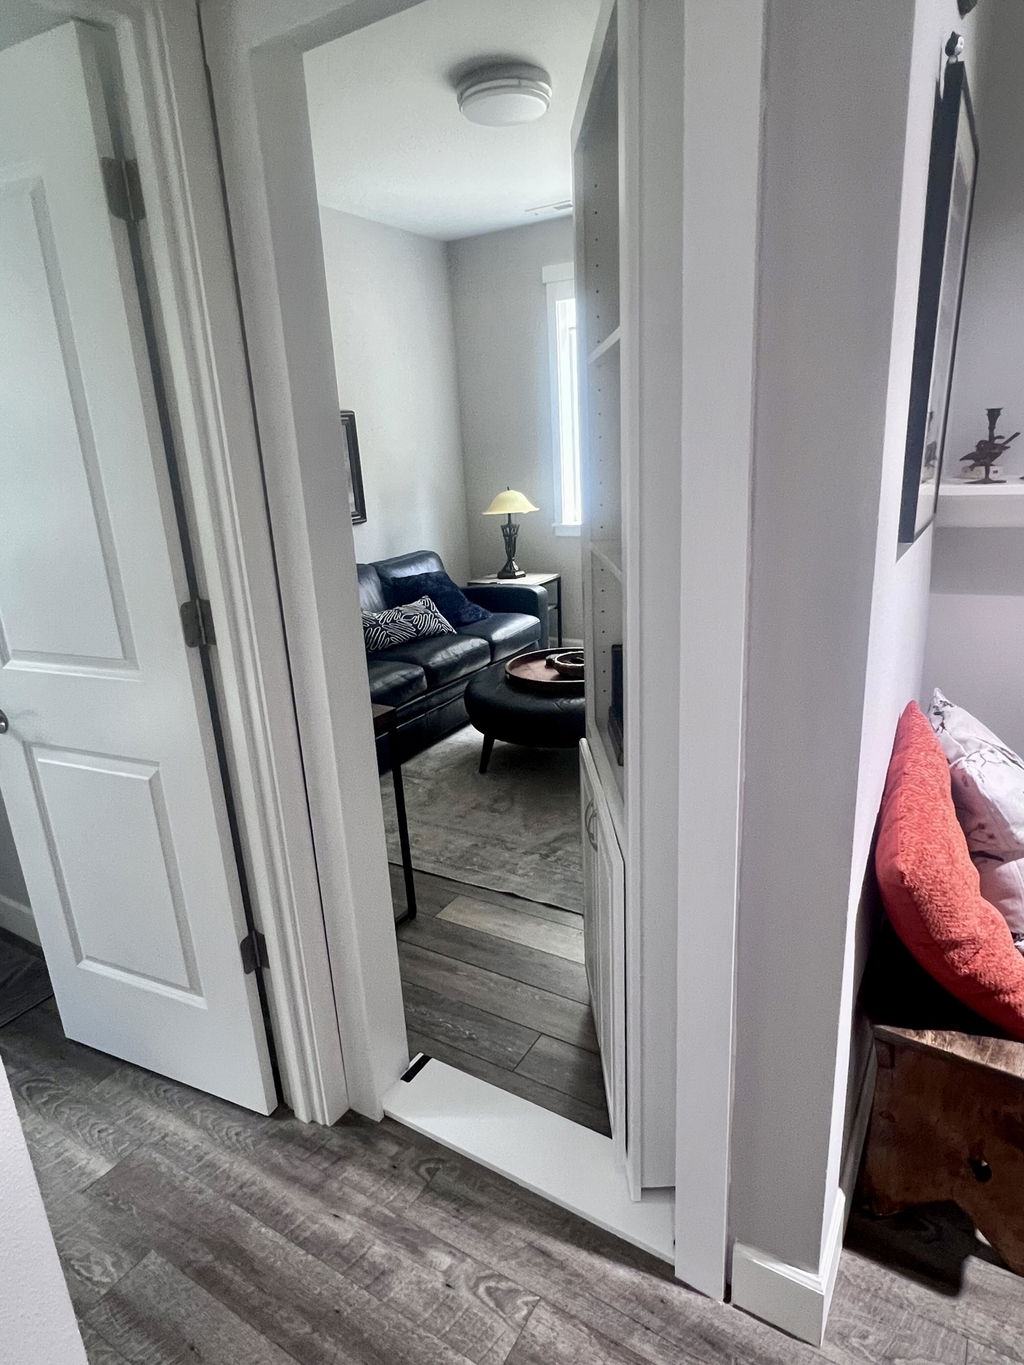
From behind the bookcase door, carefully bump the lower portion of the
hinge-side jamb toward the foreground, as shown below. Make small
adjustments and close the door after each one to check whether the case
molding now contacts the wall evenly from top to bottom.
If the gap cannot be fully corrected, refasten the jamb securely and
proceed to Step 6. If the adjustment corrects the issue, skip Step 6 and
continue to Step 7.
Step 1: Loosen the Jamb
Remove or loosen the bottom and middle fasteners on the hinge-side
jamb so it can be repositioned slightly.
Step 2: Reposition the Jamb
From behind the door, gently bump the lower portion of the jamb
toward the foreground, then test the door before refastening it.
6
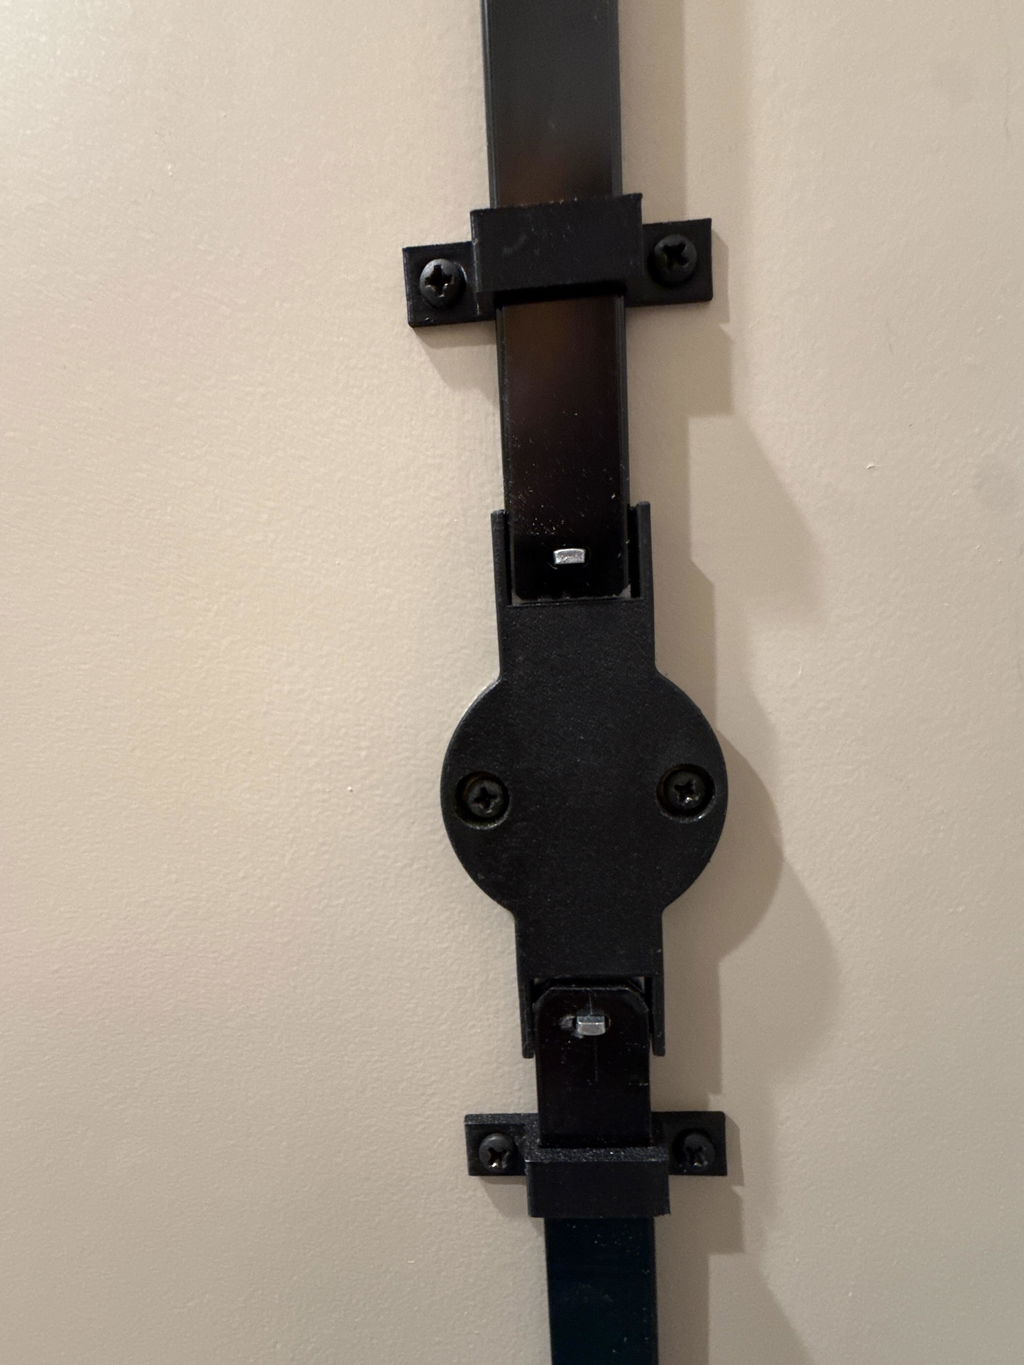
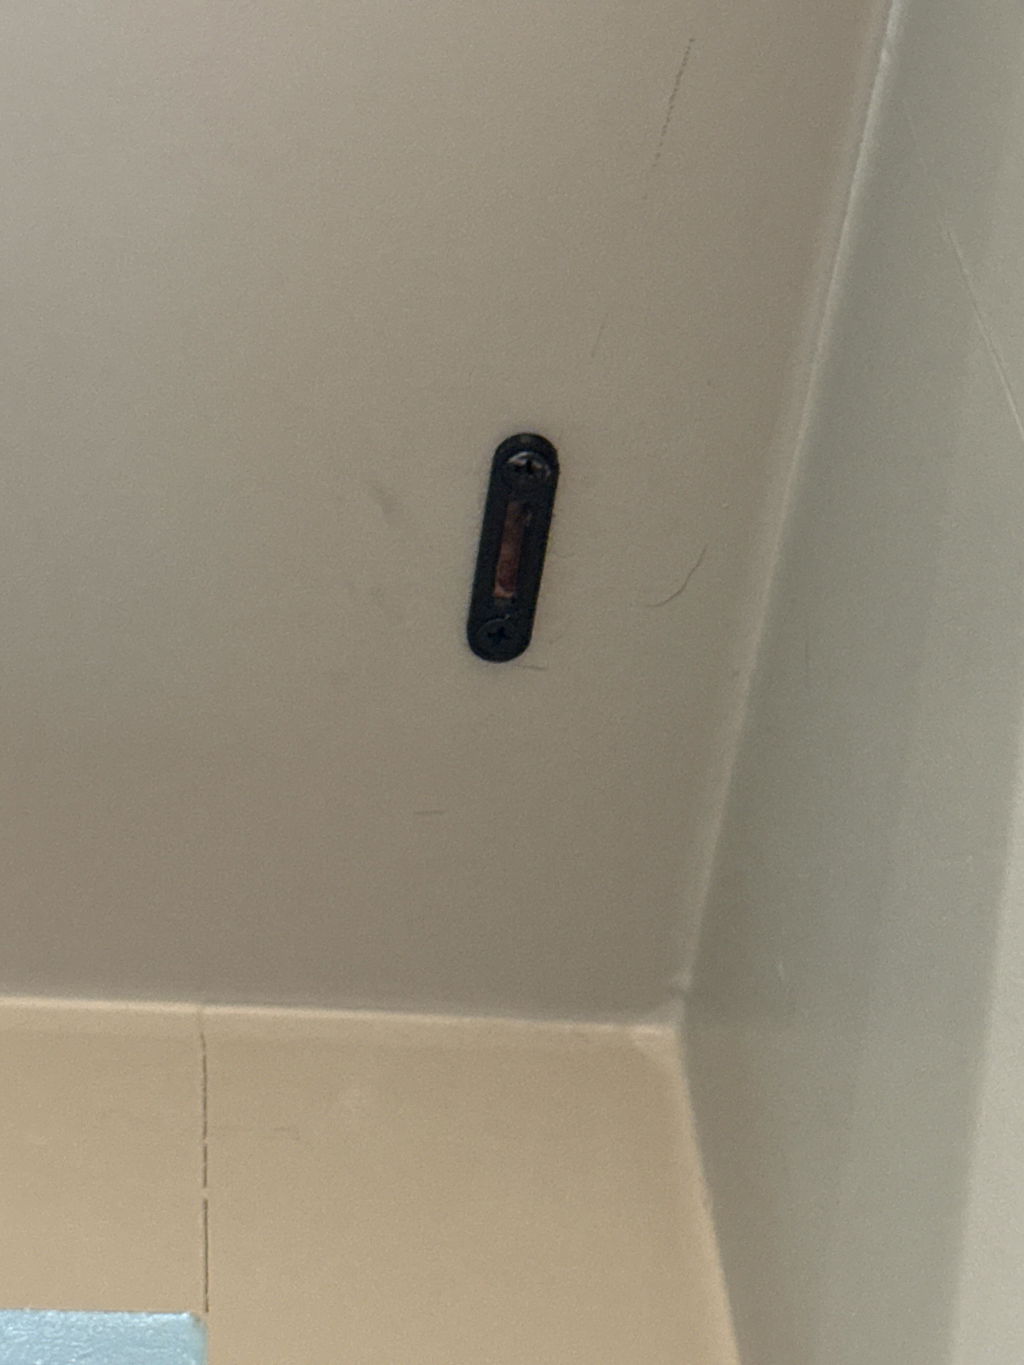
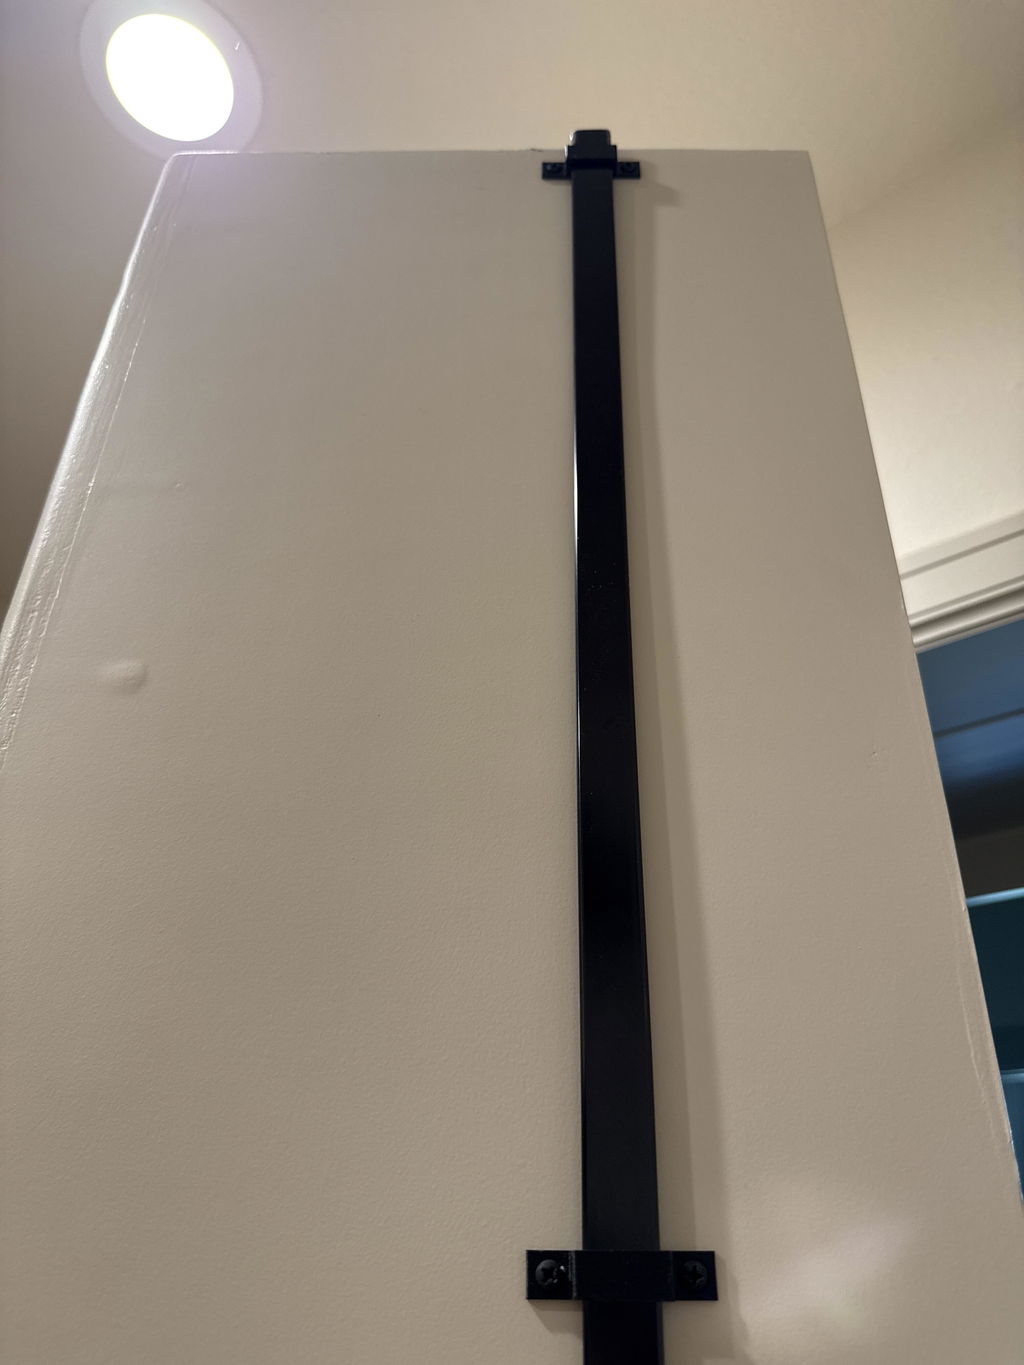
Final Adjustment: Install a Top Door Catch
If adjusting the jamb improved the fit but did not completely eliminate
the gap at the top, the final solution is to install an additional
out-swing door catch near the top of the door.
The standard mechanical latch holds the lower portion of the door in its
closed position. Adding a second catch near the top helps pull and hold
the upper portion of the bookcase against the wall so the case molding
contacts the wall more evenly from top to bottom.
Position the top catch so it engages as the door reaches the fully
closed position. The catch should hold the door securely without
forcing, twisting, or placing excessive pressure on the bookcase or
jamb.
Purchase an Additional Out-Swing Door Catch
After installing and adjusting the top catch, proceed to Step 7 and
install or readjust the required mechanical latch.
Purchase the Out-Swing Door Catch
7
Install and Adjust the Mechanical Latch
After the door has been corrected and the case molding is contacting the
wall evenly, the mechanical latch must be installed and properly
adjusted. This step is critical and should not be skipped.
The mechanical latch holds the door in its correct closed position and
helps prevent the bookcase from drifting, sagging, or moving out of
alignment over time. The latch should engage firmly enough to hold the
door securely, but it should not require excessive force or pull the
jamb out of position.
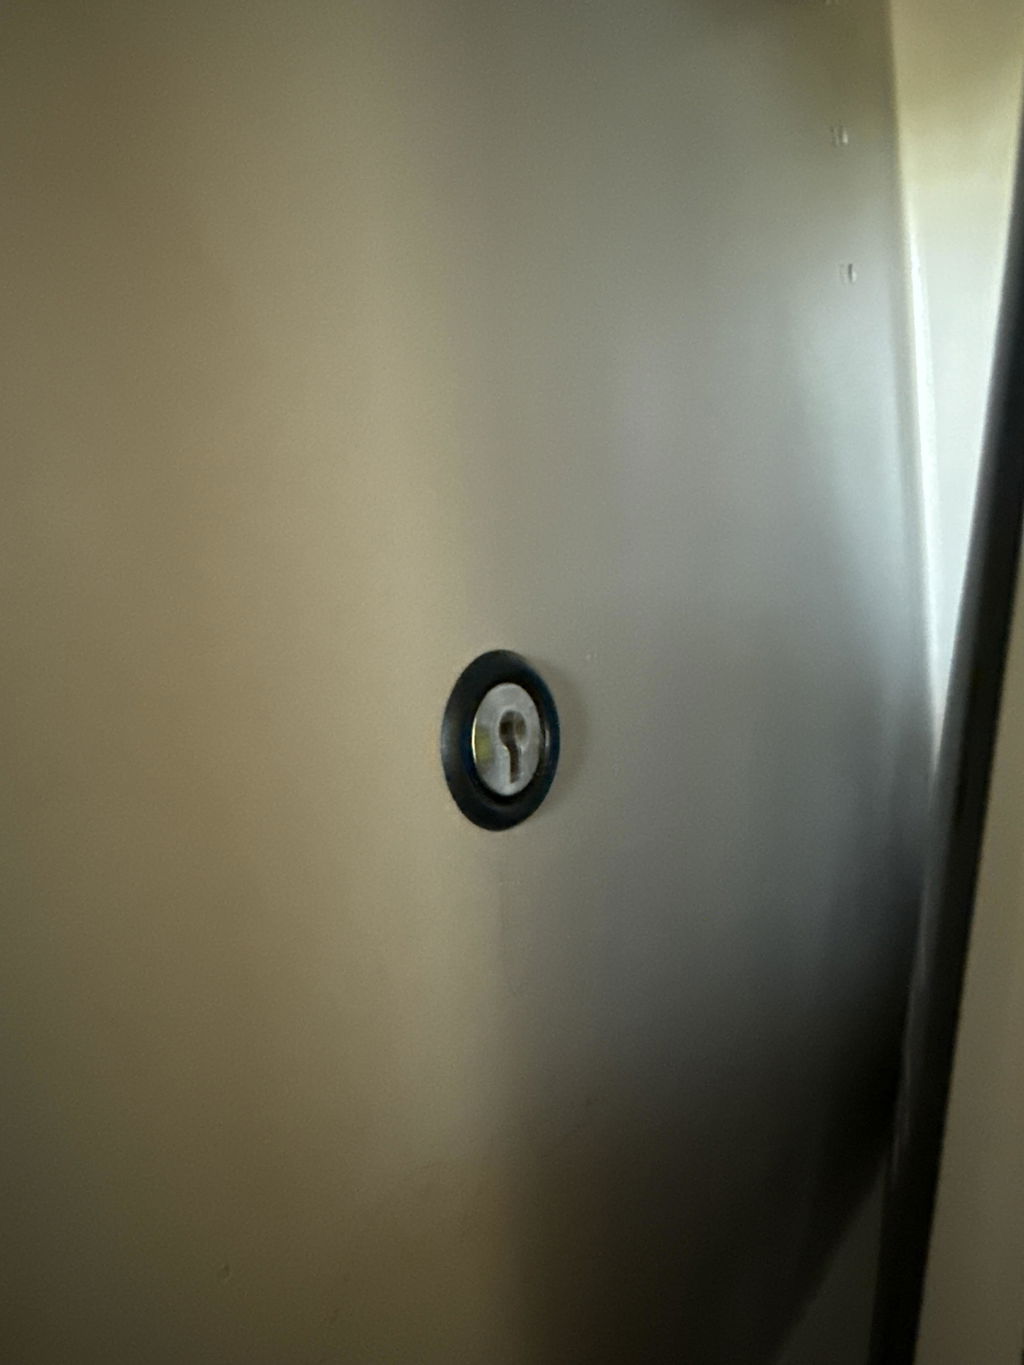
Close the door slowly and confirm that the latch and nylon ramp engage
smoothly. Adjust the latch as needed so the door is gently lifted into
its final closed position and the case molding remains flush against the
wall. Open and close the door several times after the adjustment is
complete.
Mechanical Latch
Make sure the latch is securely installed and positioned to hold the
door in its correct closed position.
Proper Adjustment
Adjust the latch and ramp so the door closes smoothly, stays secure,
and remains flush with the wall.
Do not skip this step.
Operating the door without the mechanical latch properly installed and
adjusted can allow the door to move out of position, may cause the trim
gap or alignment issue to return, and will void any applicable
warranty.
Still Having Trouble?
Before contacting us, please take clear photos and measurements so our
team can review the installation accurately.
- A full photo of the door in the closed position
- A full photo of the door in the open position
- Close-up photos of the upper and lower hinges
- Close-up photos showing where the molding contacts the wall
- Photos showing a level against both sides of the wall opening
- Your order number
Email Installation Photos
This troubleshooting page is intended for customers who have been
provided this direct link by Hide-A-Way Doors.