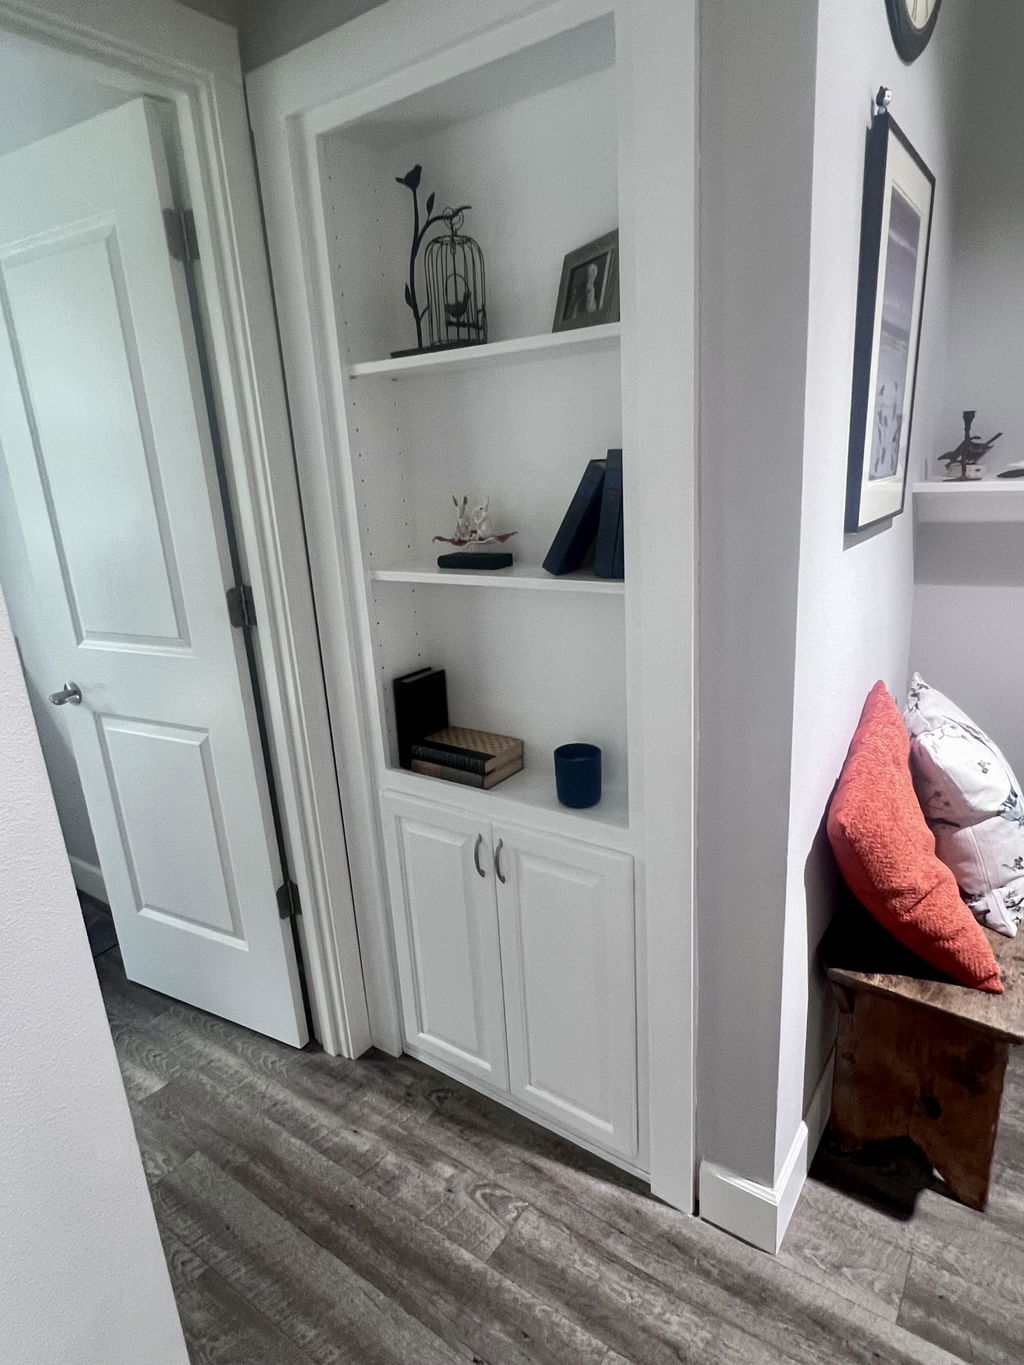
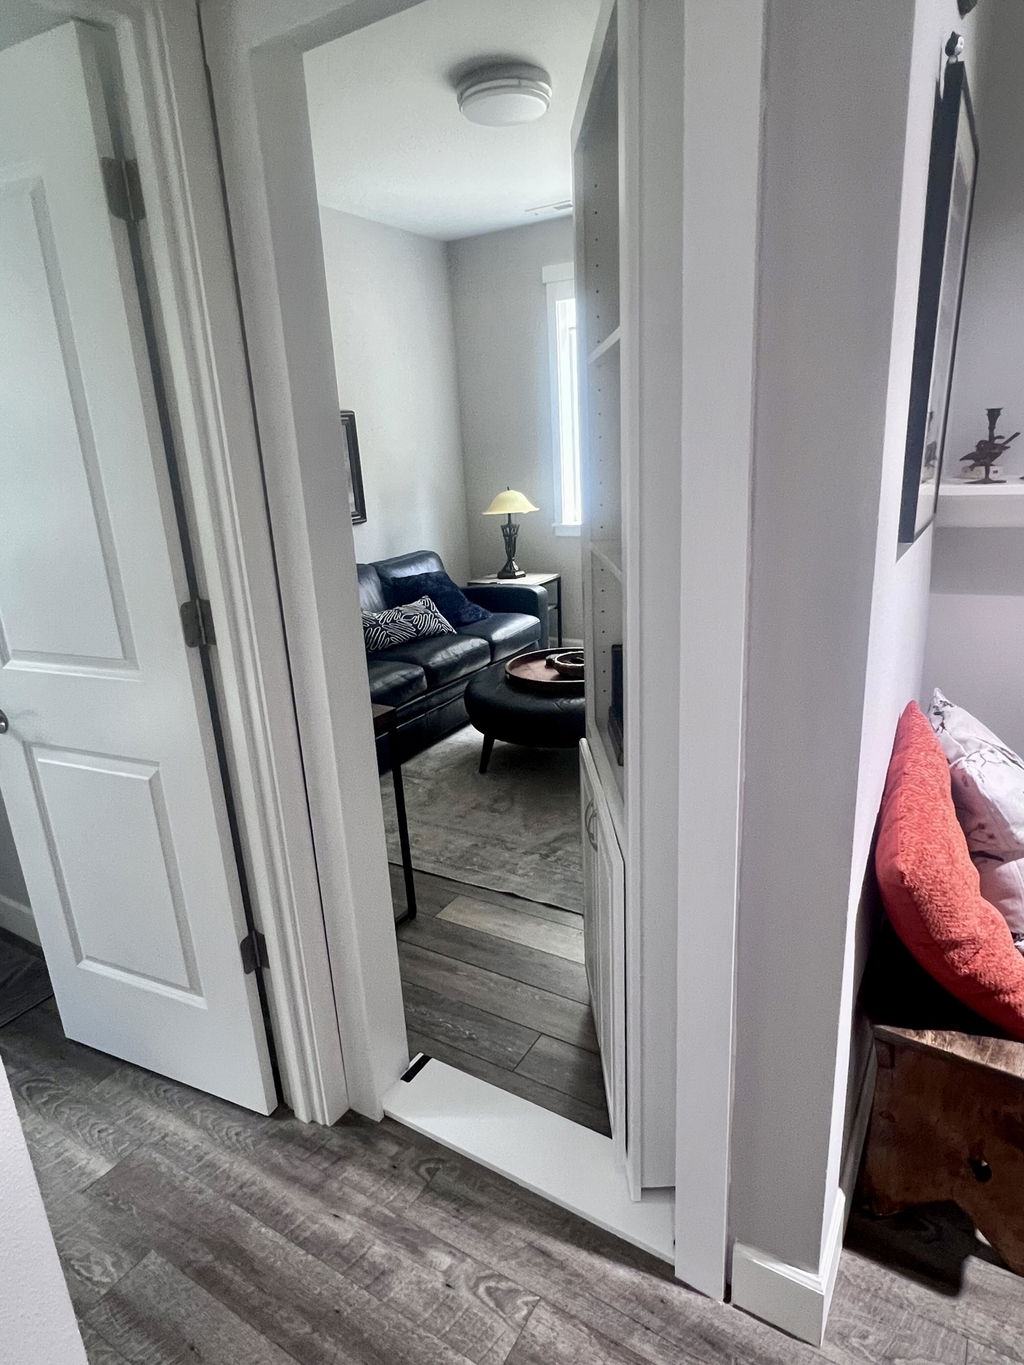
Threshold
The level bubble must be centered between the marks—not merely touching one of them.
A dragging bookcase door is usually an installation-alignment issue—not a warped door. Work through these checks in order, make only small adjustments, and recheck level, plumb, and square after every fastener change.
Remove books and stored items, support the door safely, and do not loosen structural fasteners without another capable person present. If you are unsure, stop and contact technical support or a qualified installer.
Each unit is built square on flat assembly tables and inspected before shipping. During installation, shims and fasteners establish the final level, plumb, and square. A fastener pulled slightly too far can move the frame enough to create contact at the threshold.
The level bubble must be centered between the marks—not merely touching one of them.
Both jambs must remain vertical after the fasteners are tightened.
Recheck the whole unit after every shim or fastener adjustment.
Do not skip directly to frame adjustment. A missing latch or lower hinge bushing can imitate an alignment problem.
Empty the shelves, slowly operate the door, and identify exactly where it touches the threshold. Do not force the door through the contact.
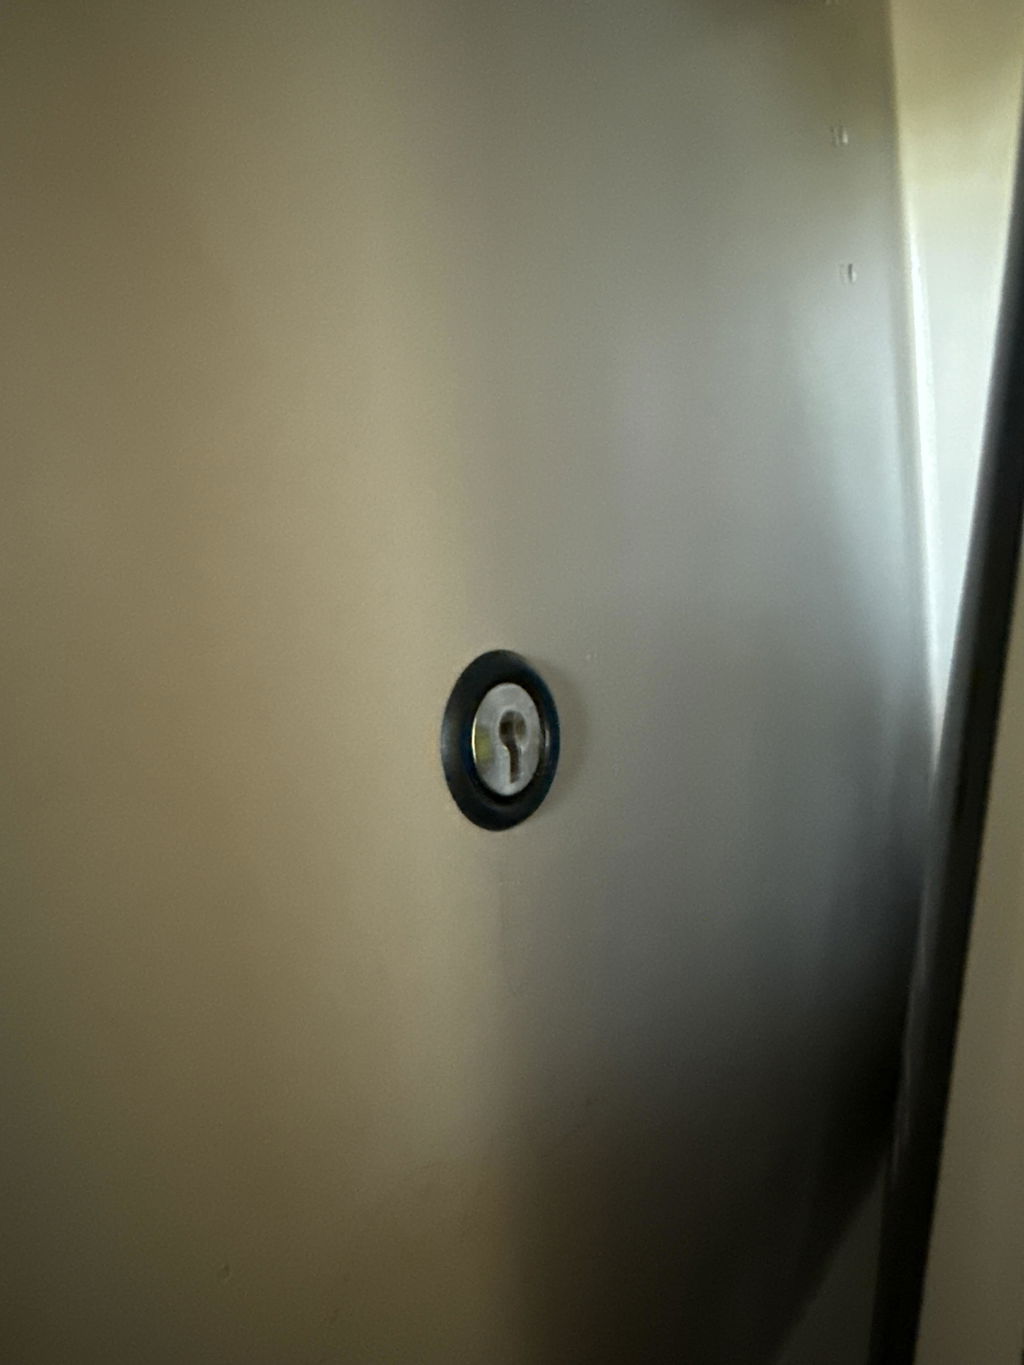
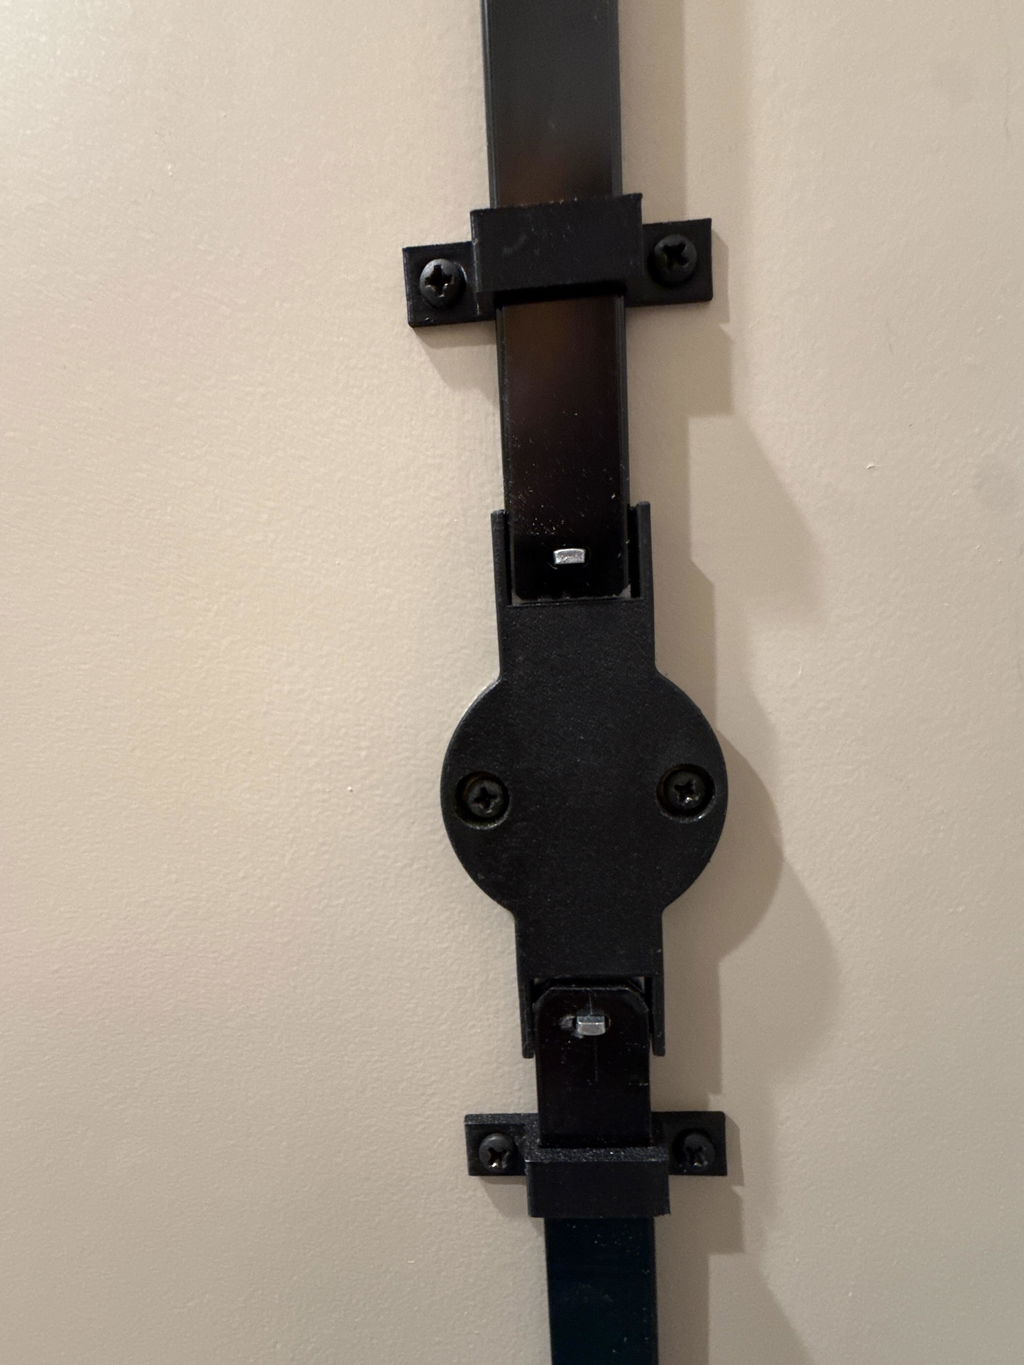
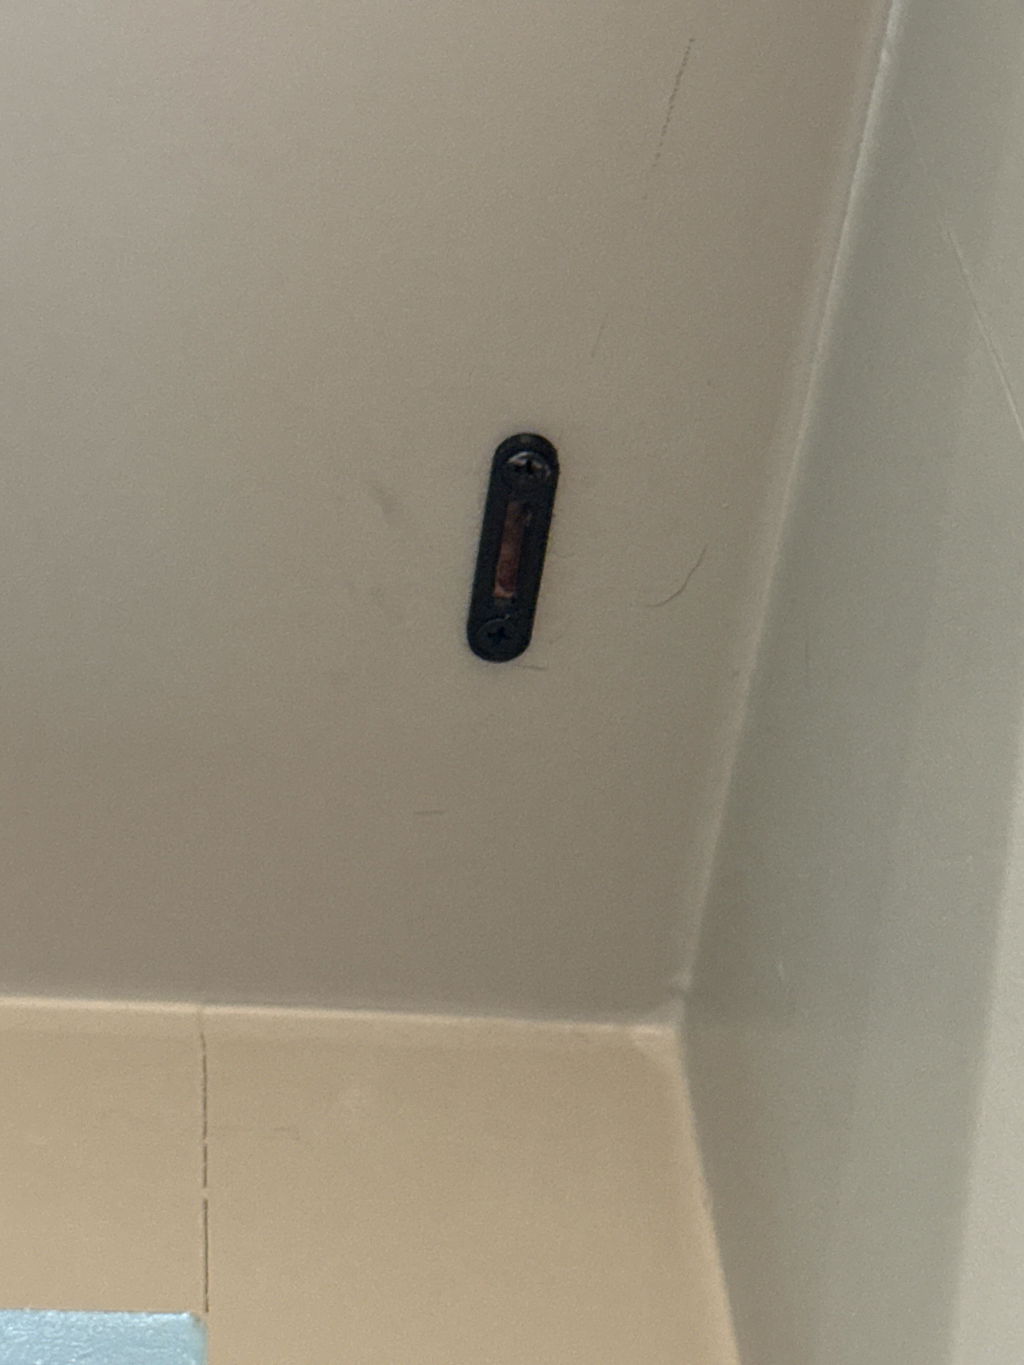
The metal self-latching mechanism belongs on the side opposite the bookcase hinges. It holds the door closed and supports its weight while the unit is not being used.
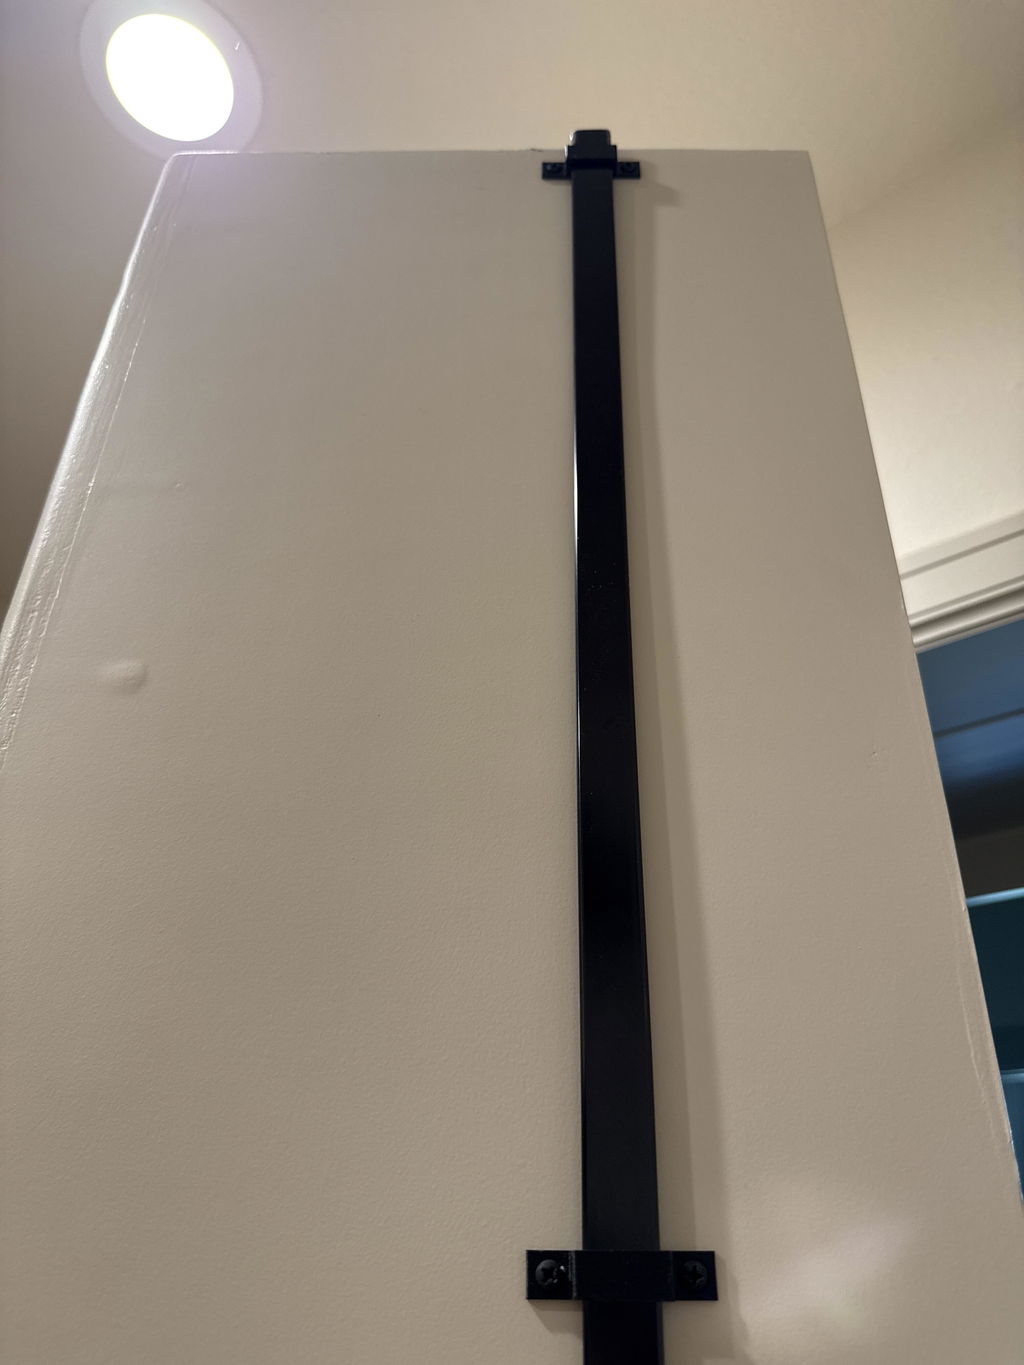
A small black nylon bushing sits on the bottom hinge pin. It provides the proper spacing and low-friction movement and can fall out while the door is being moved or set into place.
Place the level across the threshold and verify that the bubble is dead center. If it is not, the frame may need to be unfastened, supported, re-shimmed, and reinstalled.
These adjustments change the diagonal relationship between the frame and door. Work in small increments and test after each change.
Remove or loosen the upper hinge-side fasteners and shims as needed, then re-shim so the top of the frame moves slightly closer to the wall framing.
Remove or loosen the lower hinge-side fasteners and add or revise shimming so the bottom moves slightly farther from the wall framing.
The complete door and its contents are rated together. Added weight can create normal deflection, so placement matters even after the unloaded door operates correctly.
The rating includes the bookcase door itself and its contents. Do not treat 300 pounds as shelf capacity alone.
Distribute weight throughout the shelves and keep the heaviest items closer to the hinge side.
Add contents gradually and confirm smooth operation and positive latch support as the load increases.
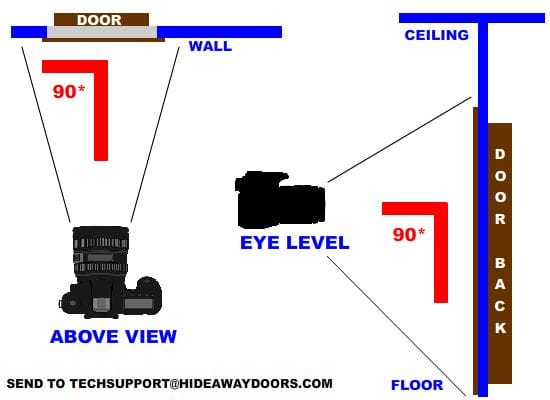
Photographs let the technical team evaluate the reveals and frame alignment. Stand directly in front of the door—do not photograph it from an angle—and include the entire unit and surrounding opening.
Usually not. The most common causes are the installed frame being out of level, plumb, or square; over-tightened fasteners; a missing self-latch; a displaced lower hinge bushing; or load placement.
No. The bubble should be centered evenly between the two lines. Touching one line indicates that the checked surface is not perfectly level.
It holds the door in the closed position and supports the non-hinge side while the door is not in use. Leaving the closed door unsupported can allow it to move out of alignment over time.
No. Remove the contents first. This makes the door safer to handle and prevents the stored weight from masking the underlying frame alignment.
Technical support is handled first by email so the team can review your order information and photographs. If the issue cannot be resolved by email, a call with a hidden-door professional can be scheduled.
Send the order number, straight-on photographs, close-ups, and a description of what you have already checked.